


Mushroom Log Spawn
What you'll need


Growing mushrooms on logs is a low-maintenance method of cultivation that can be very rewarding.
Once the spawn has fully colonised the log, it will produce mushrooms when mother nature allows, generally in the spring and autumn.
Depending on your log size, it can take anywhere between 12 & 24 months for the spawn to fully colonise the log. The log will produce mushrooms when the conditions are right, typically in the autumn and spring, until all its nutrients are depleted. Every 2.5cm in diameter typically corresponds to a year's worth of mushroom growth.
It is best to use freshly cut hardwood logs for mushroom cultivation but success can be had with pine & gum as well.
Once the log has been cut it is best to introduce the spawn within the first couple months. The sooner you do it, the better chance you will have.
To help avoid unwanted contamination, keep your log off the soil until you have introduced the spawn. We keep ours in the covered carport until inoculation.
Leave the bark on the log to help retain the moisture inside.
Using this method, 75 log spawn plugs will fit into a 1.5m x 250mm log or several smaller ones.
Once you have introduced the spawn, keep the logs upright in a shaded location in the garden. It is important to keep it in a spot with minimal direct light as this will harm the mushrooms when they begin to produce.
Over the hot summer months it can be helpful to give the log a watering every week or two.

Step 1
Give your log a heavy watering 24 hours before introducing the spawn.
Keep your spawn in the refrigerator until you are ready to use it. Spawn can last in the fridge a very long time (years) but be careful not to let it freeze over.
Step 2
Using 115mm spacing, mark out where each hole will be drilled.
Marking the log prior to drilling will ensure that you have the right number of holes.
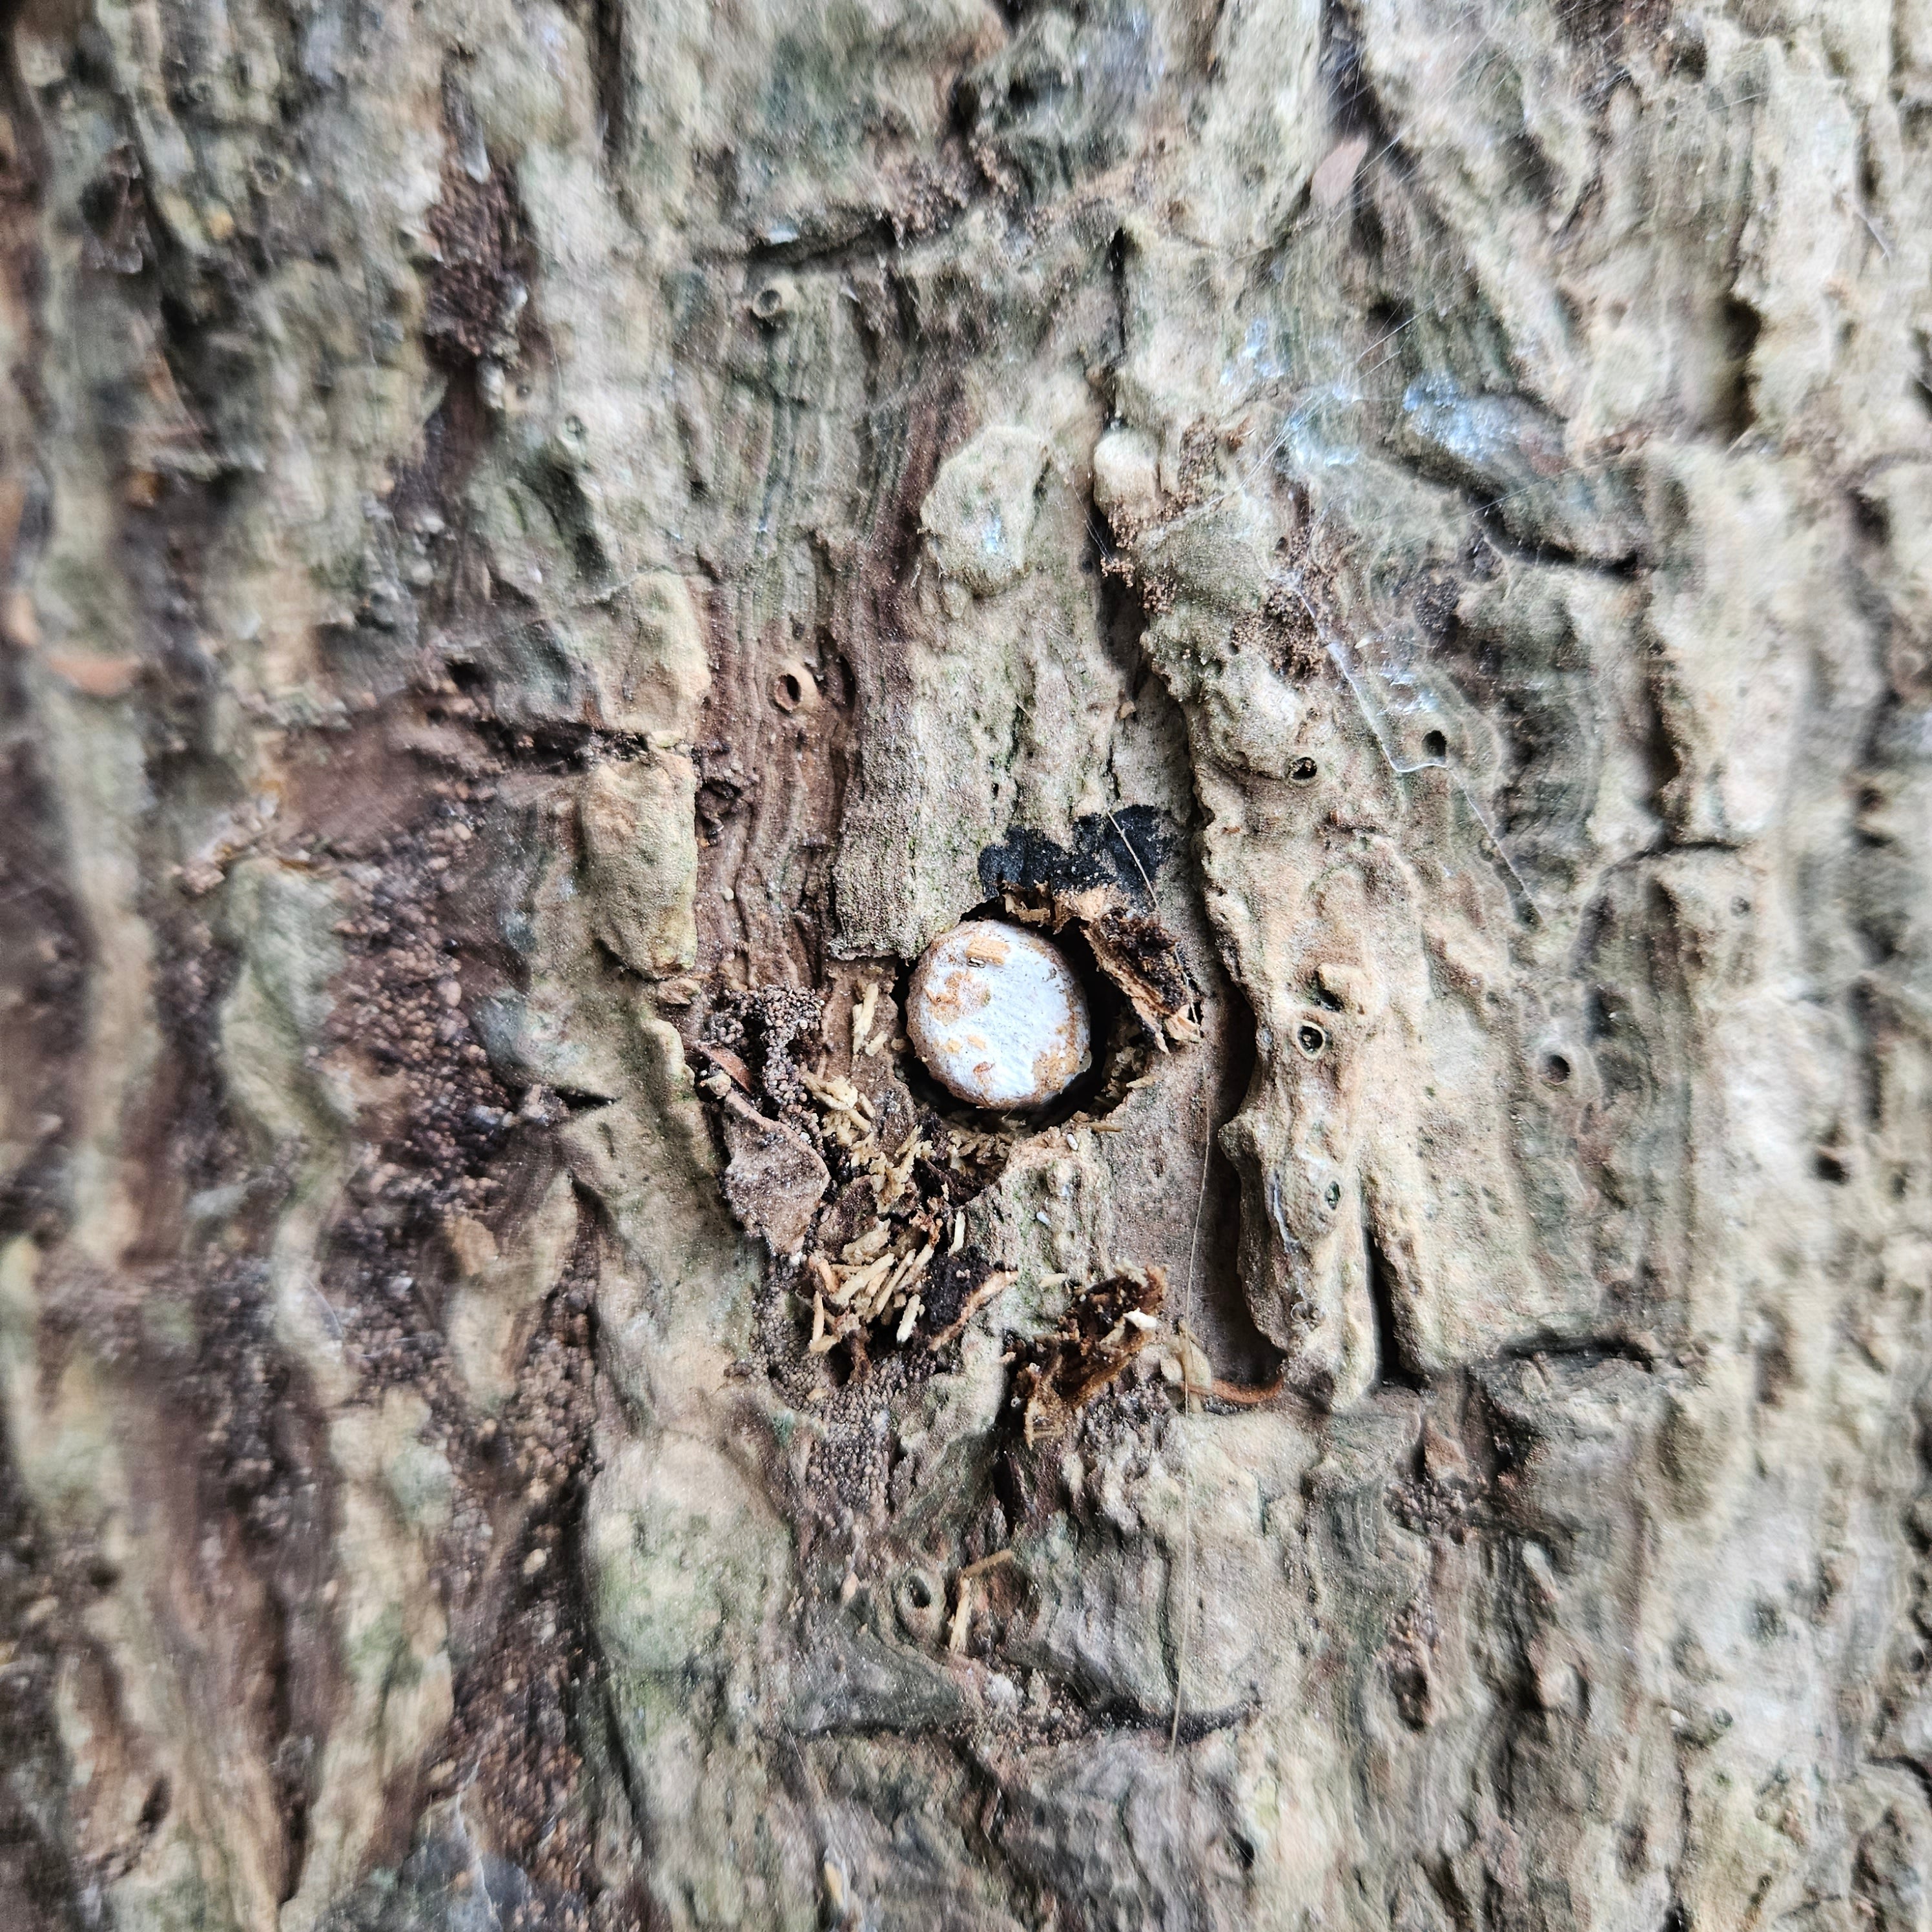
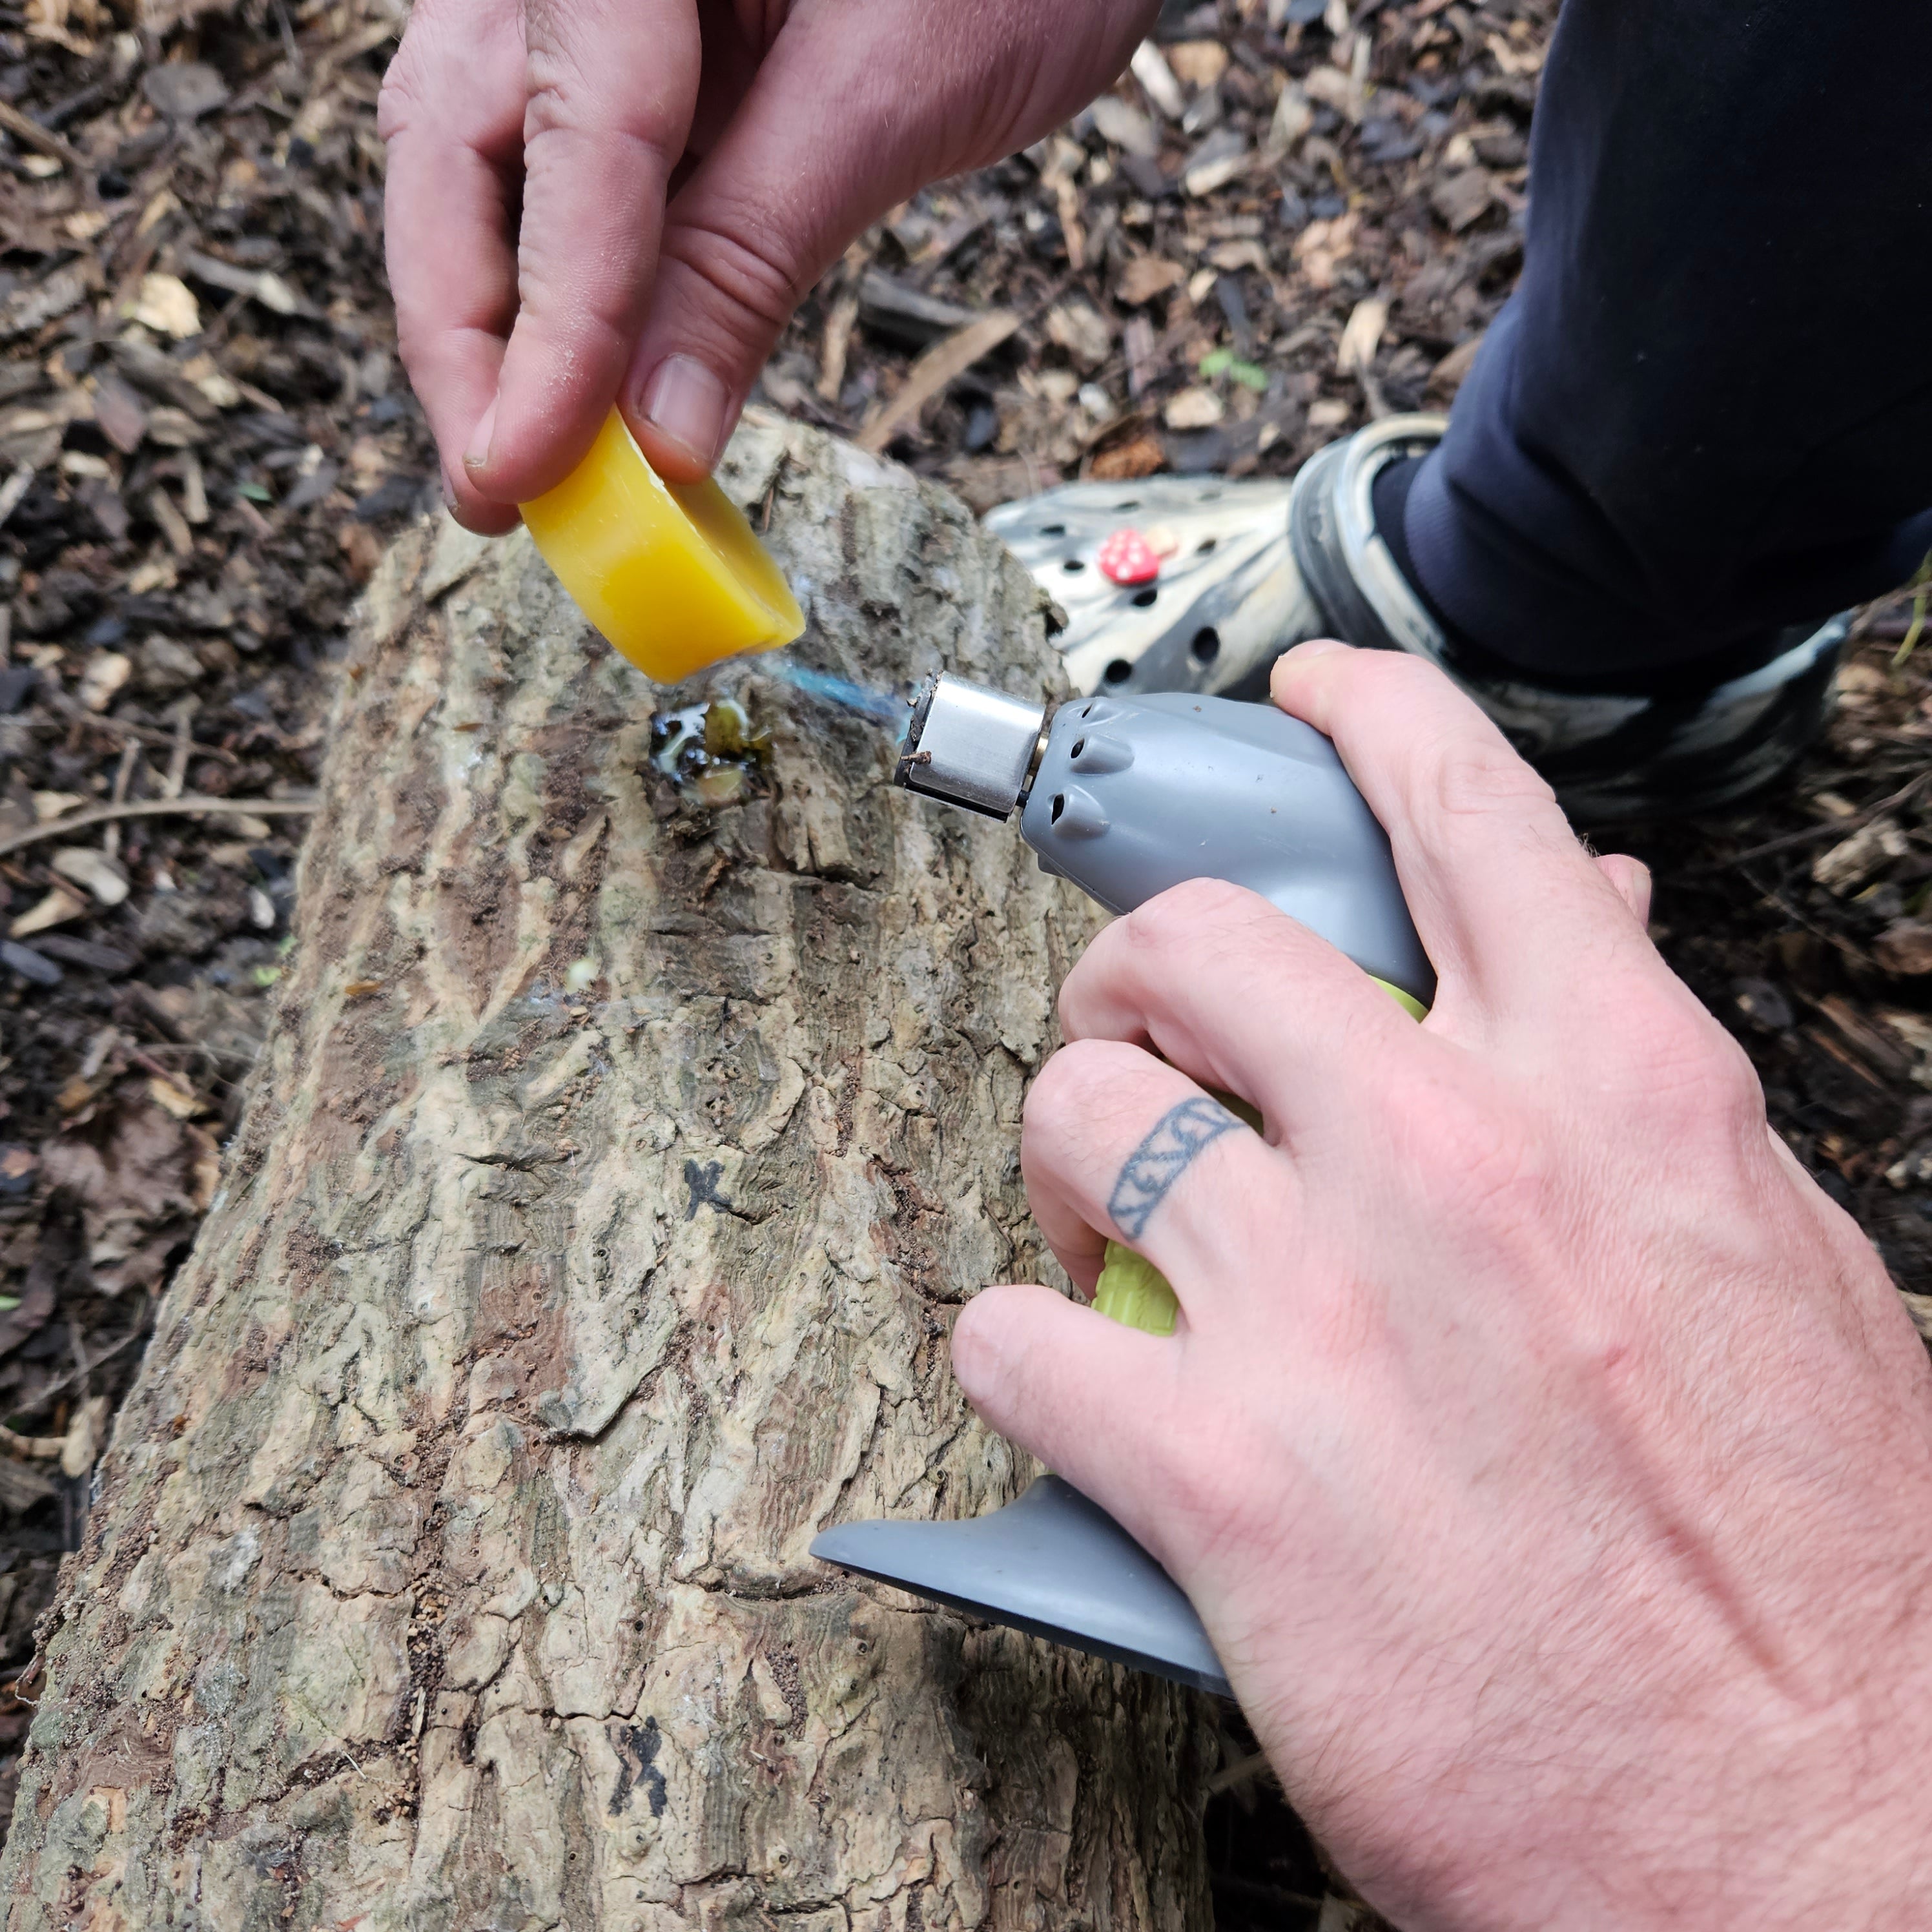
Step 5
Melt the beeswax over each hole to seal the spawn in place.
Lay the log horizontally for this process to prevent the melted wax from running.
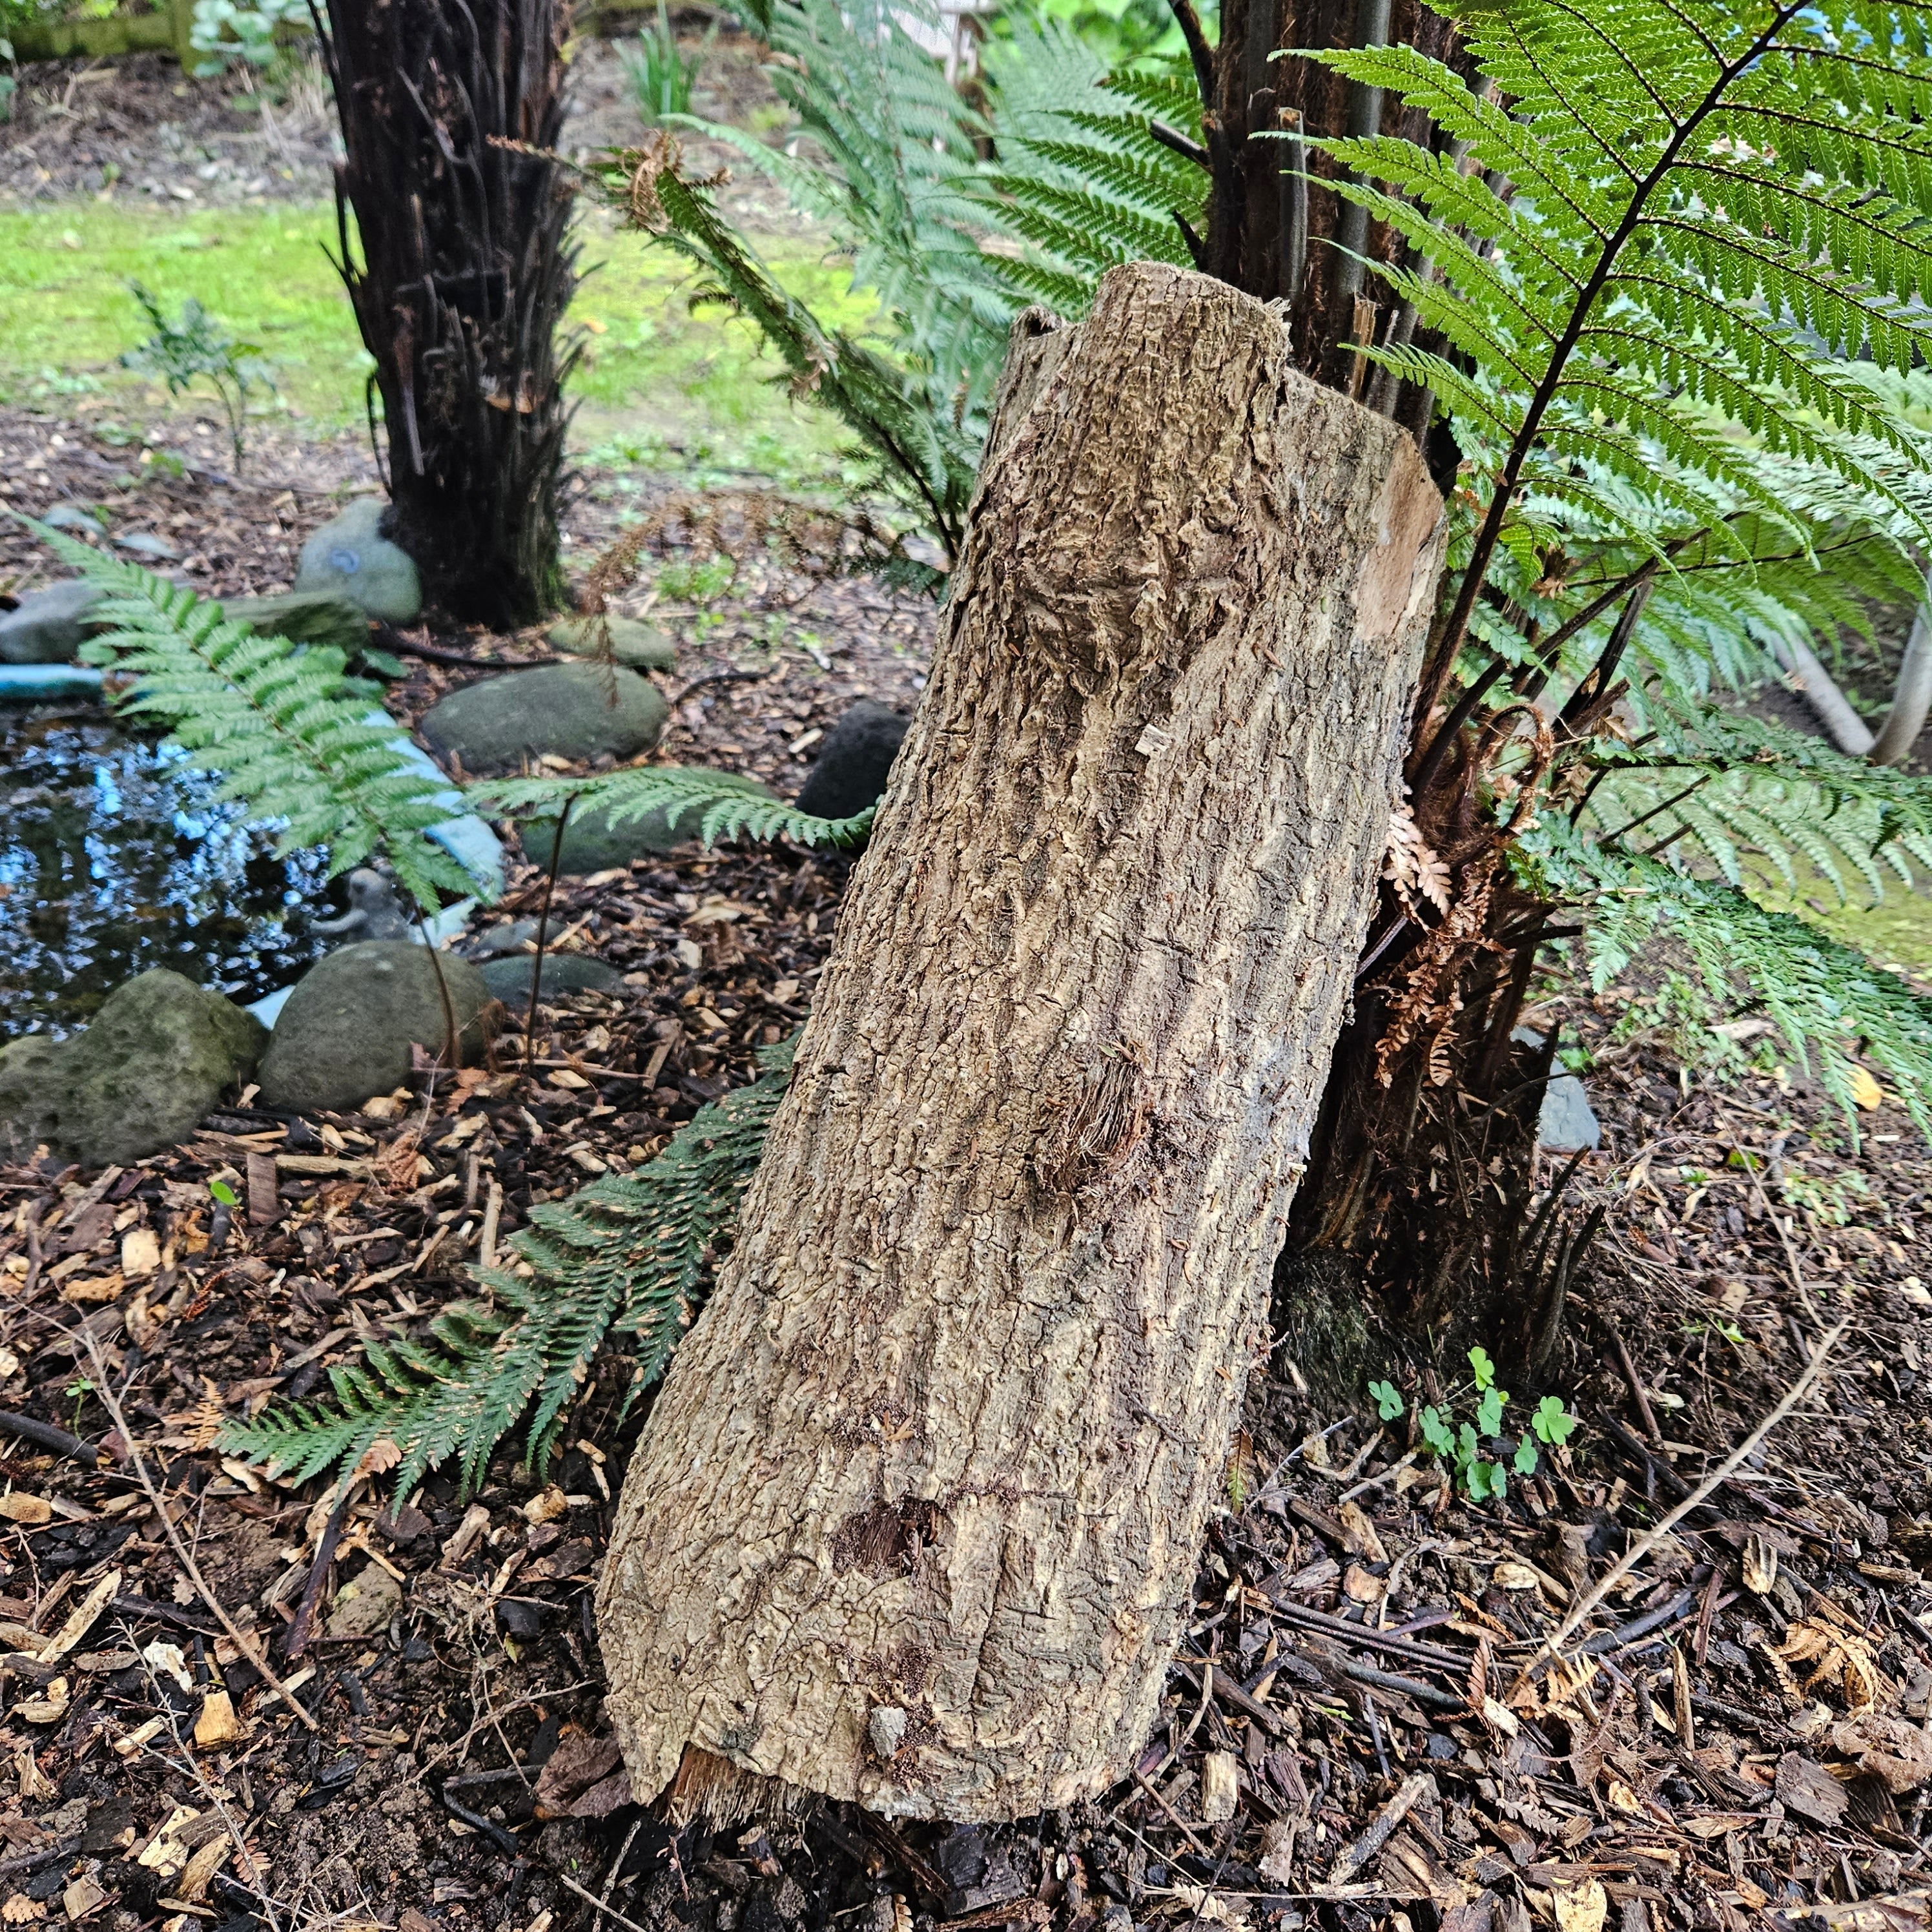
Step 6
Store the log in an upright position in a shaded spot in your garden. Leaning it on a fence or another tree is a great option.
It is always safest to identify any mushroom before consuming.
- Choosing a selection results in a full page refresh.