


Phoenix Oyster Mushroom
What you'll need


First Crop
Day 1 - Getting Started
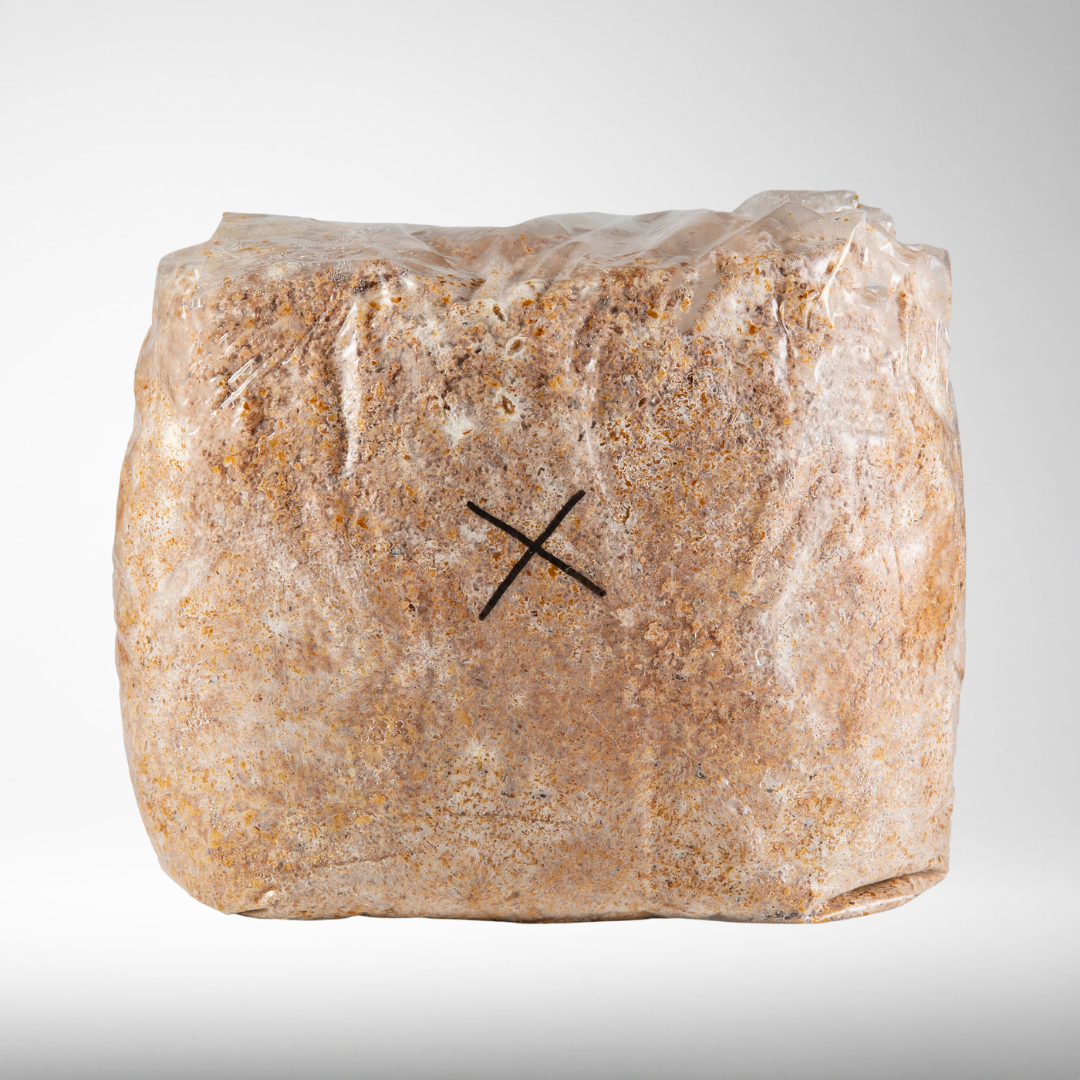
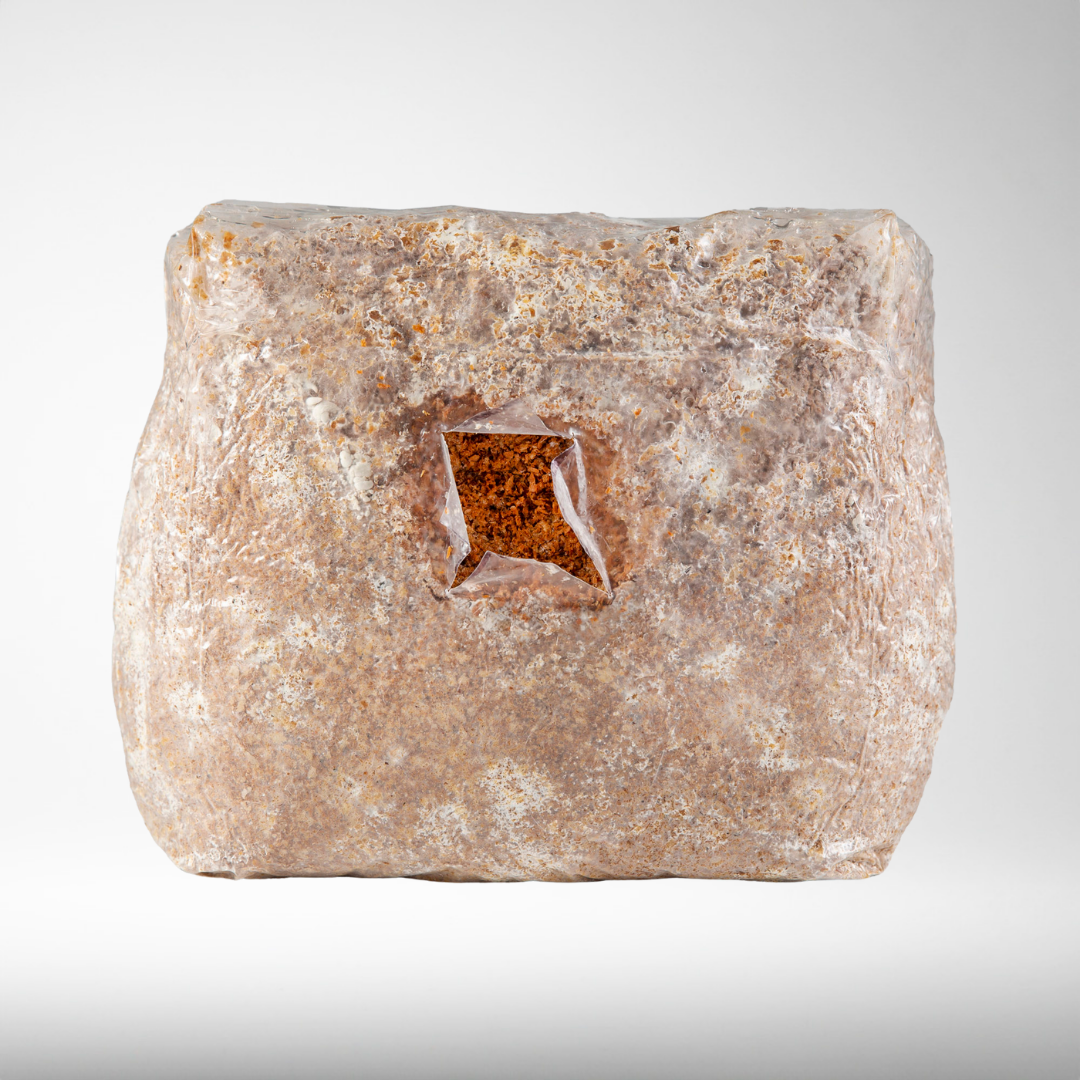
Step 1
With a clean blade, cut an X into the centre of the bag. The lines should be 5cm long.
DIY Growers, remove the air from the top of your bags and tape them over like the picture above.
Step 2
Choose a warm spot indoors to grow your kit that has plenty of air movement and is out of direct sunlight e.g. the kitchen bench, lounge or bathroom. Not in a tub or closet.
Do not leave them near a heater in winter or an air conditioner in the summer as these can dry the mushrooms out.
Days 2-7
Step 1
Keep an eye on the kit over the next week. You should see your first sprouts within seven days. A few days earlier in the warmer months, or longer in the cooler months can be expected.
Please send us a picture if you do not have sprouts appearing after 7 days.
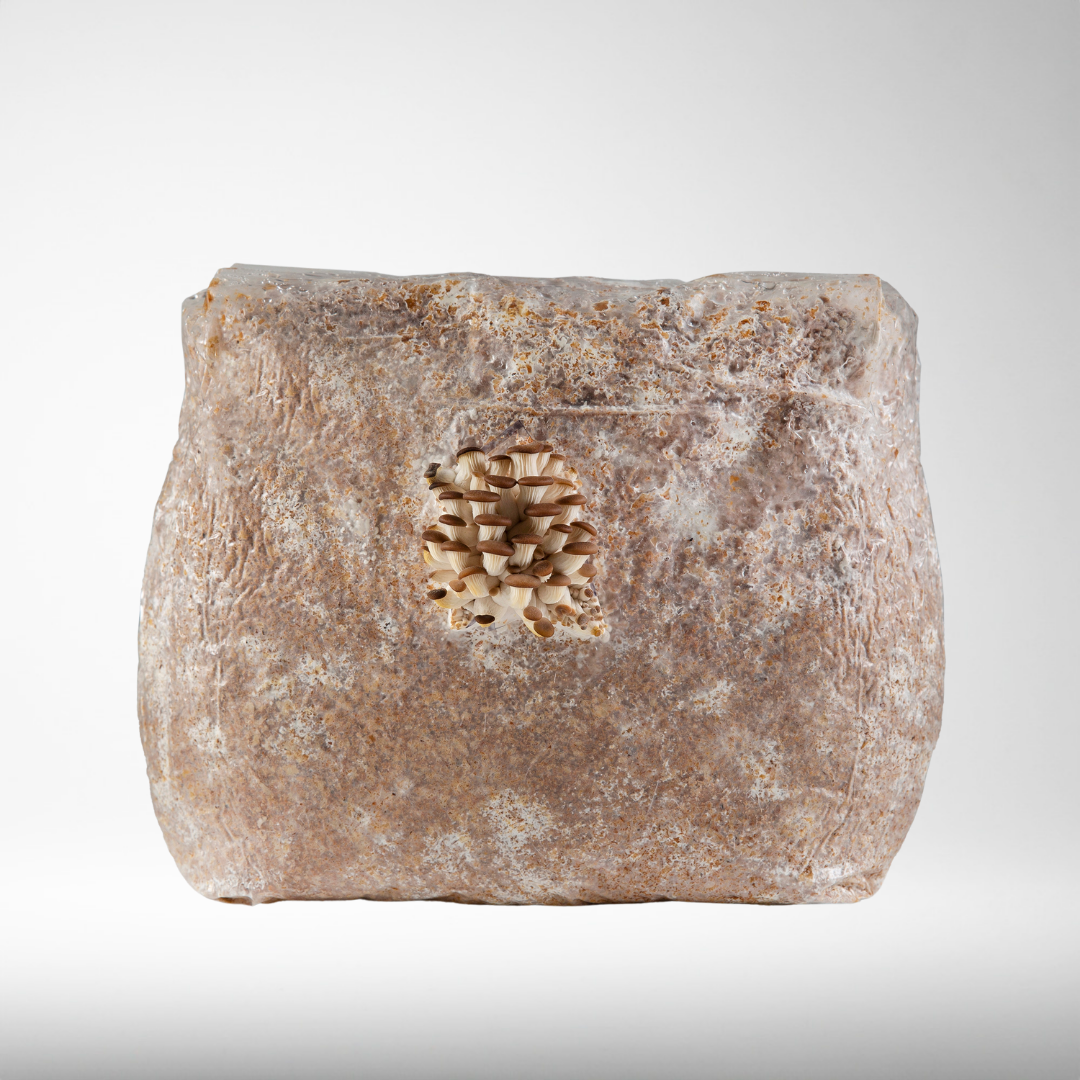
Step 2
Success! The first sprouts are poking through the cut. Keep a close eye on them now as the growth will be very quick. Depending on the time of year, it can be anywhere from 3-7 days.
It is normal for a few mushrooms to try and sprout inside the bag. Do not make any additional cuts, they will die off as the main cluster matures.
Days 8-14
Step 1
If your mushrooms are approaching this size and you would like help timing the harvest, please send us a photo.
It is normal for the mushrooms to start dropping some spores in front of the kit at this point. These can easily be wiped up with a damp cloth after harvest.
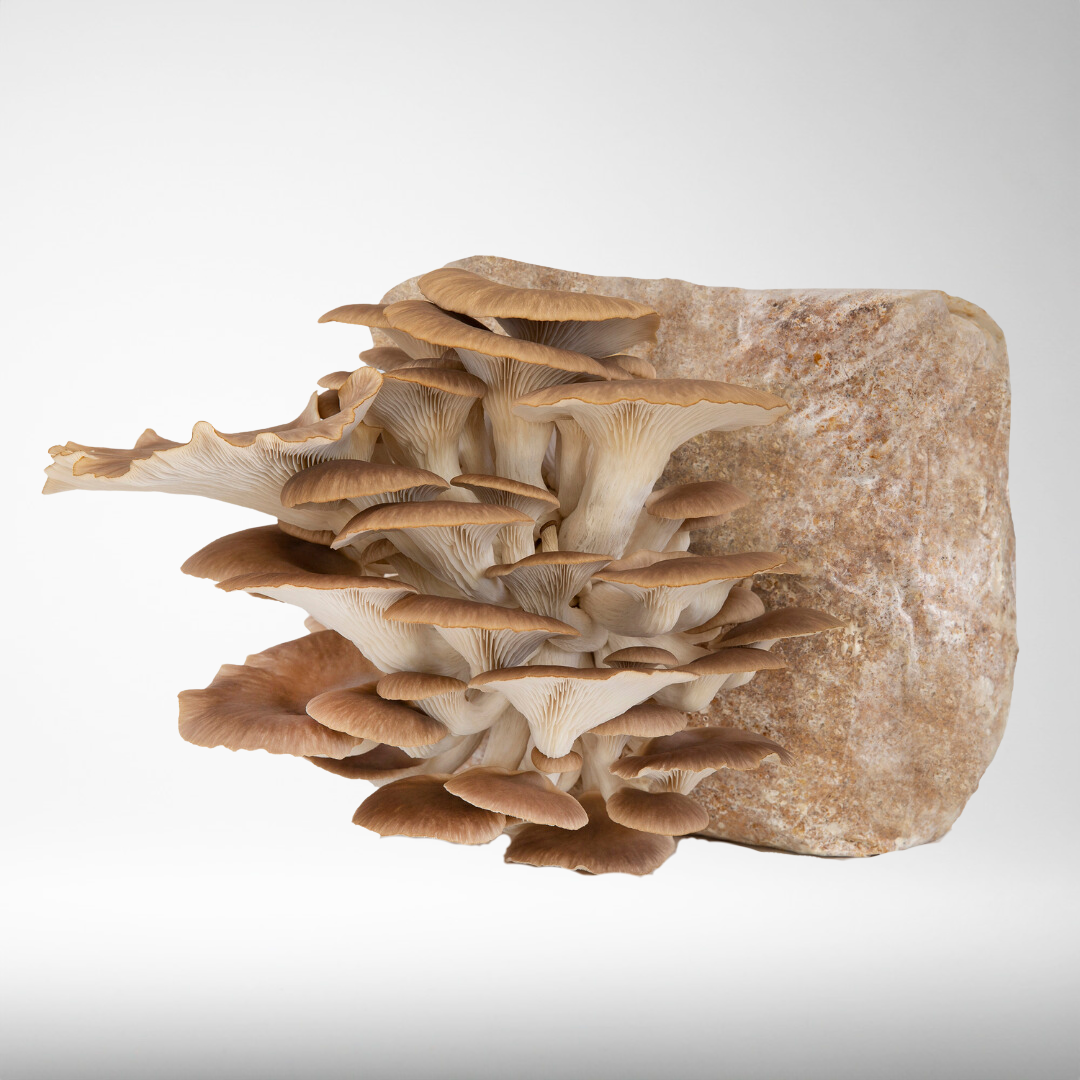
Step 2
The mushrooms are ready to harvest when the caps have opened up and become wavy on the edges. The mushrooms will over-mature very quickly, so get ready for the next step!
If you notice yellowing on the stems, the mushrooms have already past maturity and need to be harvested.
Harvest Time!
Step 1
Grab the cluster of mushrooms with both hands and pull it away from the kit in one quick motion.
Do not cut the mushrooms off individually, harvest the entire cluster at once.
Step 2
Once the cluster has been removed, you can store it whole or trim away the sawdust and tough sections at the base of the stems so they are ready to be cooked.
We like to store the mushrooms in paper bags or a tub lined with paper towels. The mushrooms will last up to 5 days in the fridge if kept in a plastic container that is lined with paper towels.
Second Crop
Get ready for round 2!
Step 1
After harvesting is complete, remove any leftover debris from the hole and scrape the surface to expose fresh sawdust.
The second crop can take anywhere from 14-21 days to sprout. Faster in summer and slower in the winter months.
Step 2
Monitor your kit for the next couple of weeks and watch as it begins to regenerate.
If you notice any green or black growth at this point please send us a photo and we will be able to help.
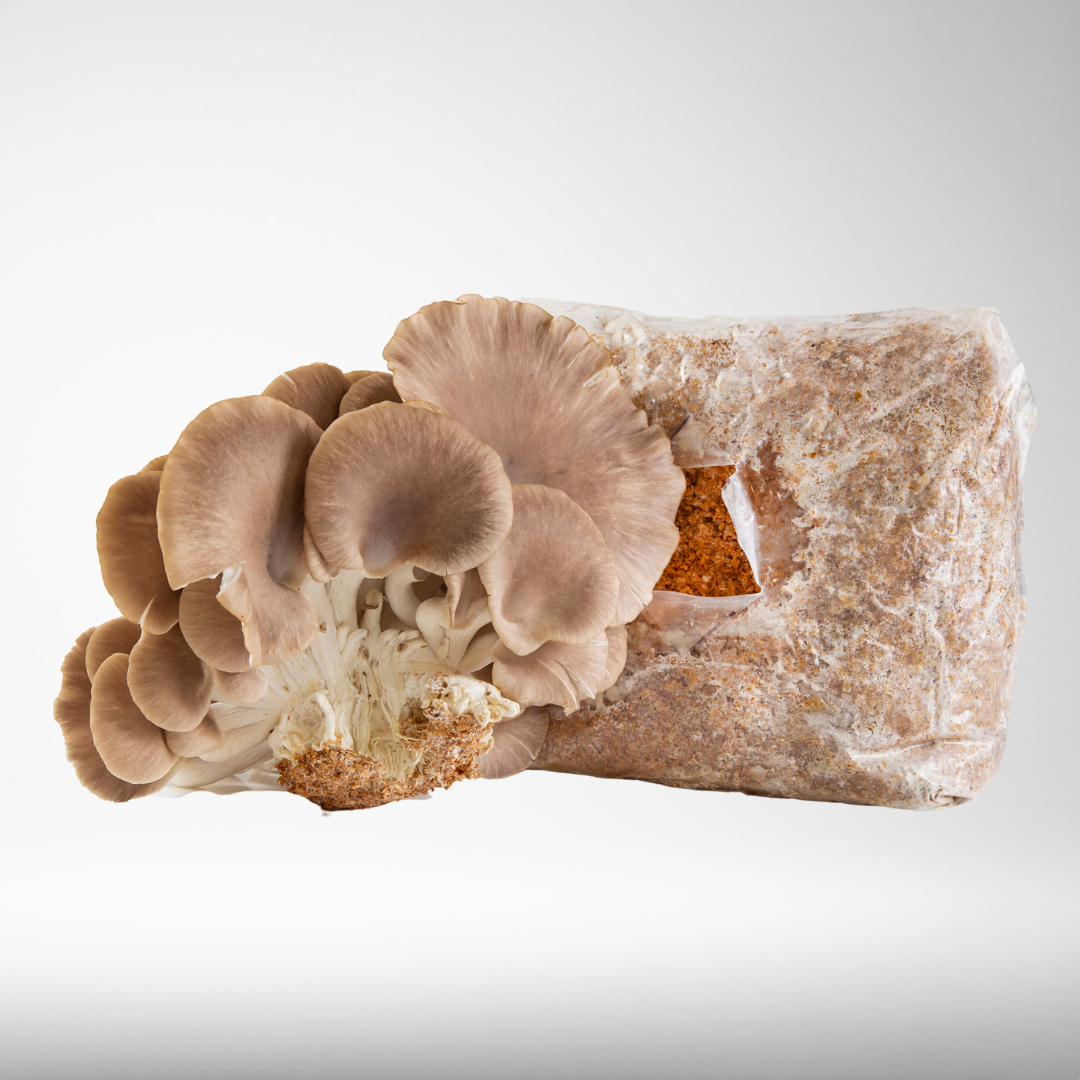
Step 3
Sprouts may appear around the edges of the bag first. Do not be tempted to open the bag any further, they will reach through to the opening on their own.
Do not worry if only a few mushrooms sprout, they will get huge!
Step 4
Harvest the mushrooms by pulling them gently from the patch. You will likely have to harvest over the period of a few days.
Once the bag has stopped producing, move onto the Outdoor Patch instructions below.
Outdoor Patch
What you'll need


Setting Up Your Outdoor Patch
Step 1
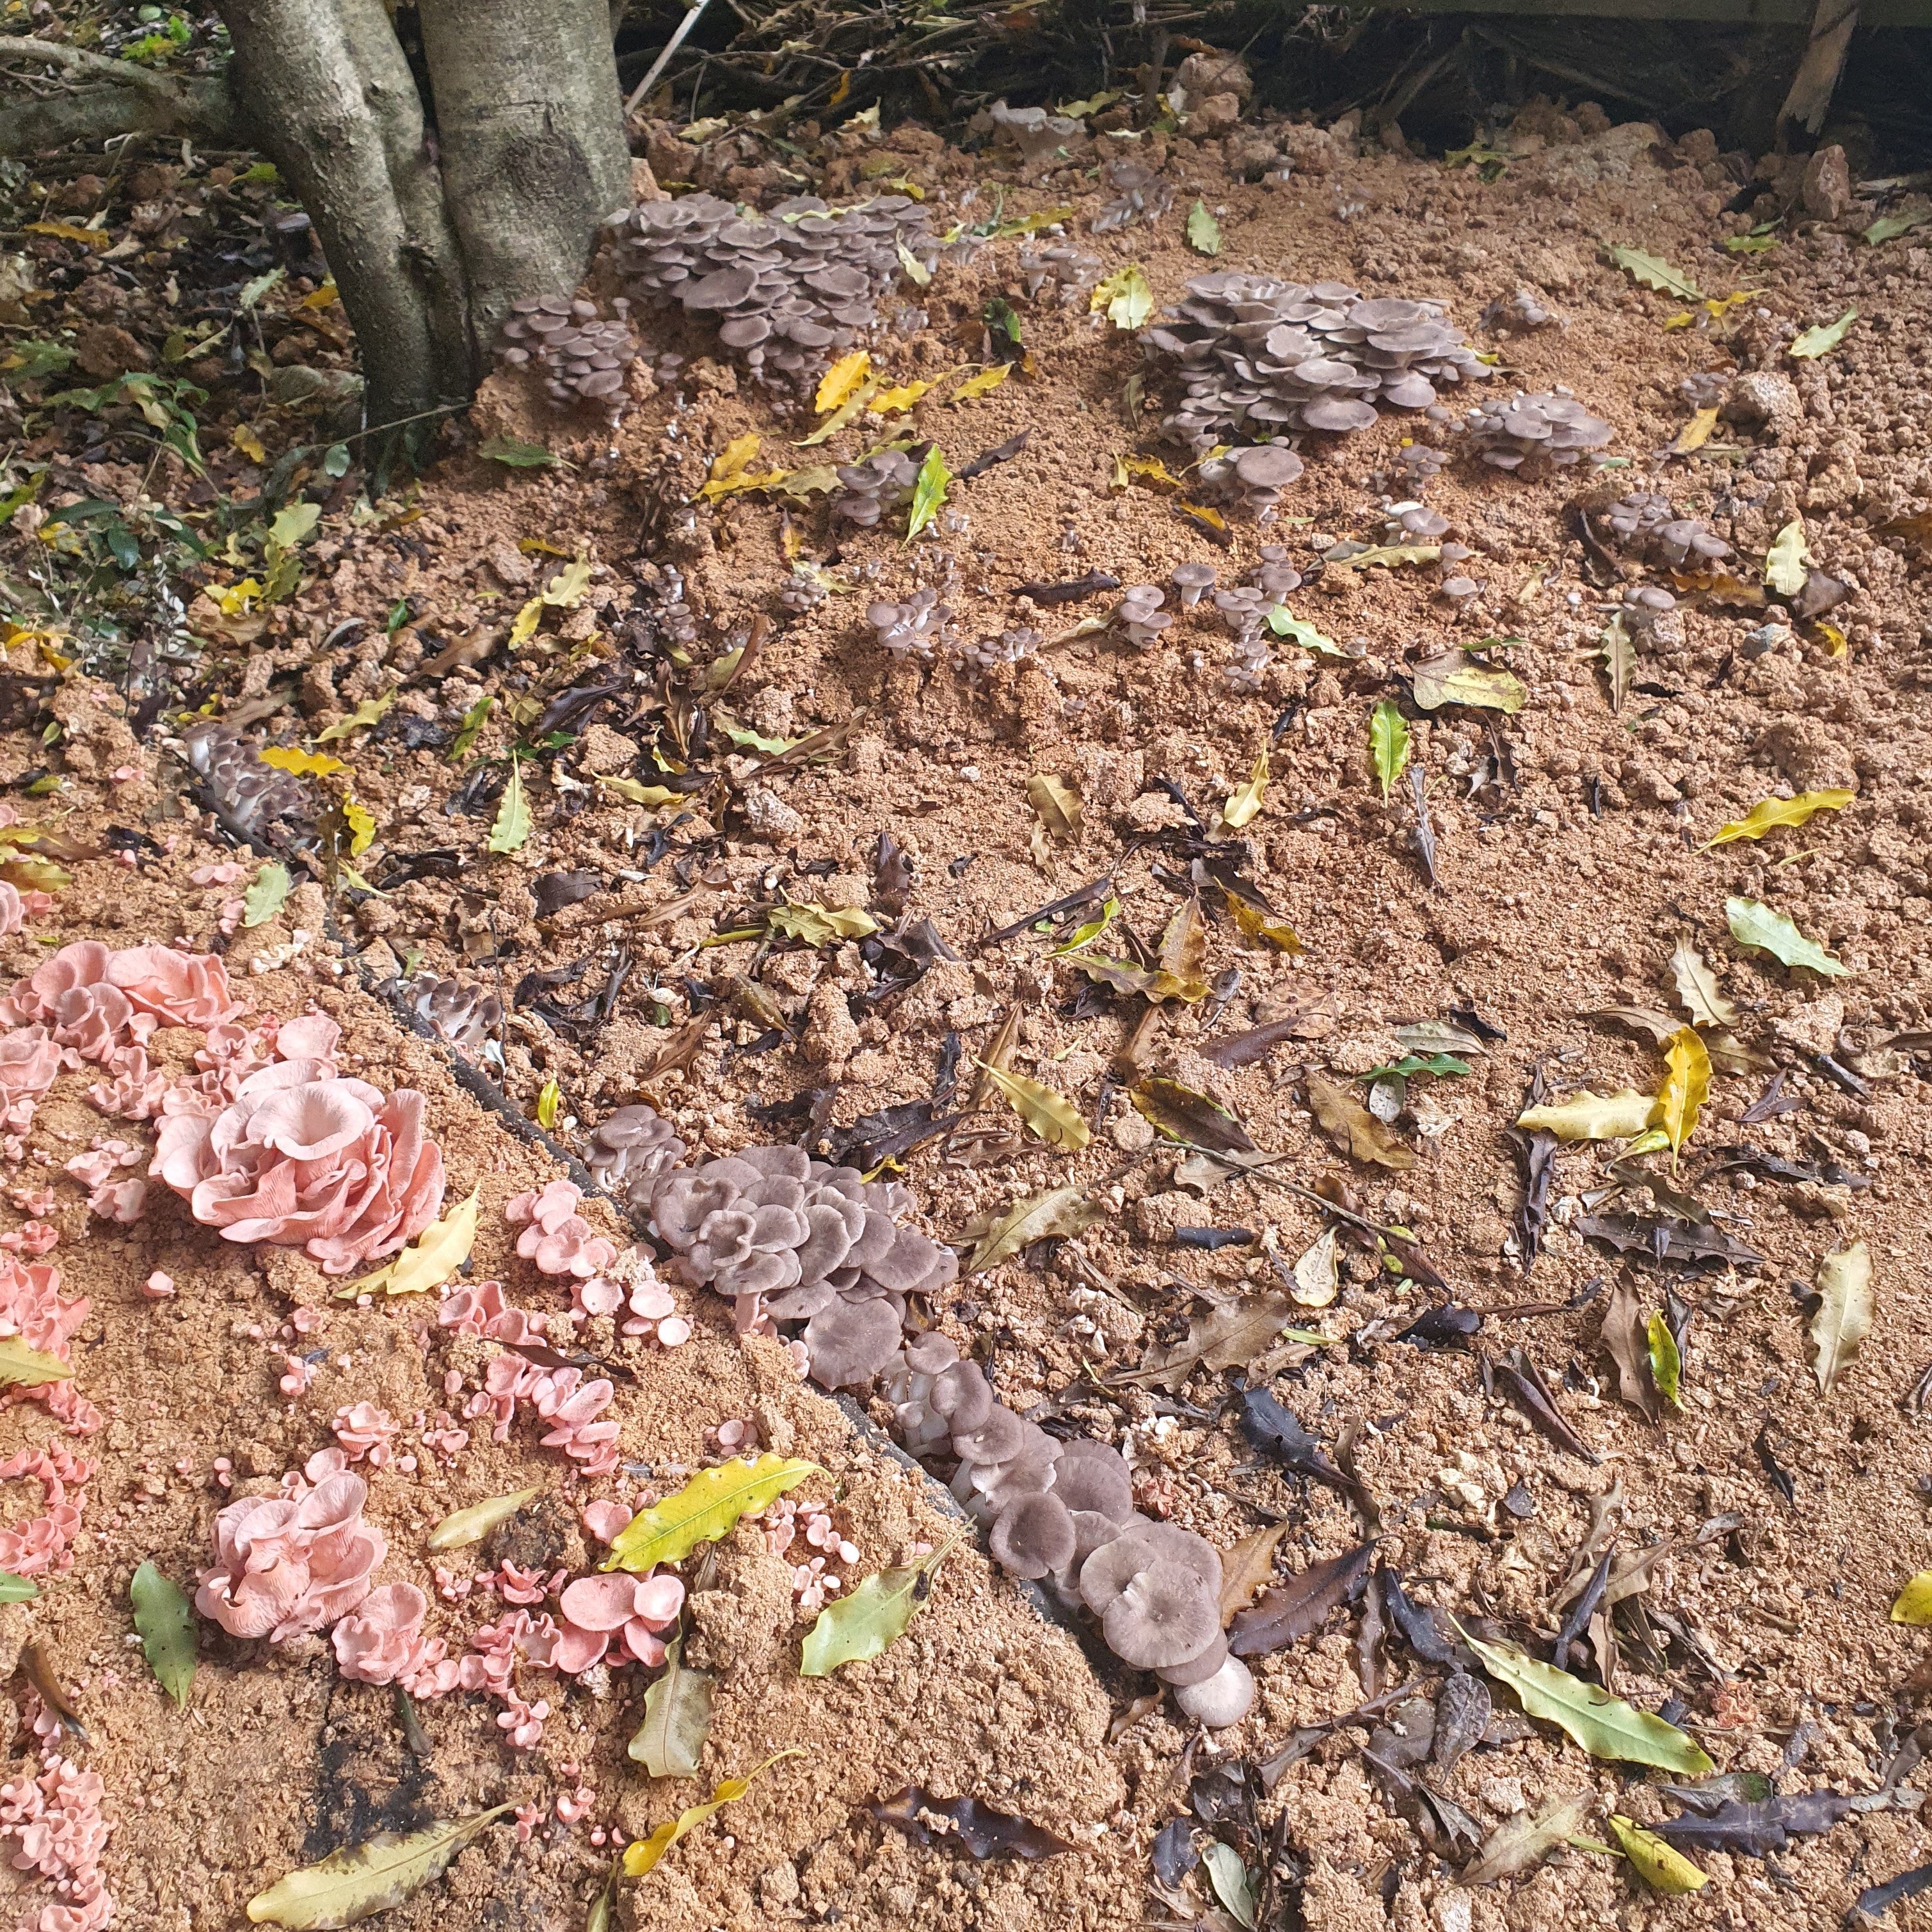
Find a shaded spot in your garden that does not receive direct sunlight.
If you do not have a suitable spot, the remains of the grow kit makes an excellent top mulch for your garden or potted plants. Worms will flock to the mushroom mycelium!
Step 2
Crumble the remains of your grow kit onto the ground and mix with straw. Aim for a patch 1m2 and 5-10cm thick. Add an additional layer of straw on top to help retain moisture.
The small packs of straw from garden centres are perfect.
Step 3
Give the patch a good watering and then allow it to regenerate over the next few weeks, check it periodically, especially a day or two after a good rain fall.
It can be a battle against the slugs, so our rule of thumb is to pick them as soon as soon as they are big enough to eat.
Step 4
Harvest the mushrooms by pulling them gently from the patch. You will likely have to harvest over the period of a few days.
Heavy rain can cause the mushrooms to ‘wash’ away but do not be disheartened and check back as the patch dries out.
- Choosing a selection results in a full page refresh.